Cutting and installing granite countertops is a highly skilled task that requires extensive experience and the right (expensive!) tools. Don’t be tempted by DIY installation videos you may see.
There’s only a slim chance self-installation will go off without a hitch, and even if all looks good, there’s no telling if a problem is lurking below the surface.
Oftentimes, a household circular saw has a special, diamond cutting blade added to it. A collar (large washer) is added to the sides of the blade to minimize vibration, which gives you a smoother cut and reduces the odds of chips.
For homes, granite is usually dry cut, which causes a lot of dust. To tackle this, a diamond blade radial saw equipped with a vacuum may be used. However, a contour diamond blade is necessary for curved areas (such as around sinks).
Living on the Edge
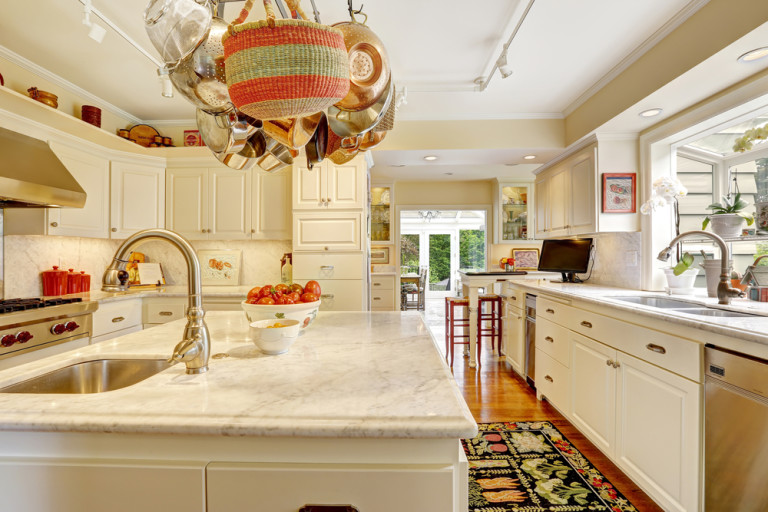
You probably selected a special edge design when ordering your countertops. Flat, curved, rounded and beveled edges all require different approaches.
Pros use an automated edge-shaping machine that can both cut and polish the desired shape. These machines also are helpful for those tricky sink cutouts (by far the most challenging sinks are undermounts, which need to be precise down to the millimeter).
When actually installing the granite, measurements are critical, including making the correct allowances for appliance door opening clearance. All granite edges have to be perfectly flush with cabinets.
Granite installers use templates to calculate cuts, particularly for cooktops and sinks.
You also need to take backsplash thickness into account, and make sure faucets have enough space. Vulcanized rubber paint-vapor barriers or plastic sheets are often used between granite and subcounters.
Seams OK
The vast majority of counters will have at least one seam, since granite slab sizes are standard. However, these seams should be placed in an area that’s supported.
Even if you have two slabs cut from the same larger slab, there might be a tiny difference in thickness. If this is the case, a shim is added to keep the tops flush. Sometimes silicone is put in between slabs as well so that contraction and expansion can happen unimpeded (and it will).
An epoxy (glue) also is added to hold the granite countertop in place. This epoxy needs to be mixed properly with the resin for the most seamless look possible. This same resin is ideally used in tandem with the caulking that adheres the backsplash to the counter.
As you can see, installing granite is a lot tougher than people think! One wrong move and you can ruin your investment, which is why it’s always best to let the experts handle the installation.
When you’re ready to outfit your kitchen or bathroom with beautiful granite countertops,call the experts at Intermountain Stone & Marble.
